What Is AP.Setup? Comment
AP.Setup stands for Access Point Setup. It is a crucial process in extending your existing Wi-Fi network’s reach and enhancing its performance. When you encounter areas with weak or no Wi-Fi signal, an Access Point can be added to bridge the gap and create a strong and continuous connection. This is particularly useful in larger homes, multi-story buildings, and office spaces.
The Role of an Access Point
An Access Point is a device that connects to your existing network and broadcasts a new Wi-Fi signal, effectively extending the network’s coverage. It operates as an additional entry point for wireless devices to connect to the internet. An Access Point is distinct from a Wi-Fi extender or repeater, as it typically requires an Ethernet cable connection to the router.
When Is AP.Setup Necessary?
AP.Setup becomes necessary in several scenarios:
- Expanding Wi-Fi Coverage: When you need to cover larger areas, such as homes with multiple floors or large office spaces, adding an Access Point is essential.
- Eliminating Dead Zones: Access Points can effectively eliminate Wi-Fi dead zones, ensuring a strong connection throughout your space.
- Enhancing Network Performance: Access Points can help distribute the network load more evenly, resulting in improved performance, especially in crowded areas.
- Supporting More Devices: In environments with many connected devices, such as smart homes or offices, adding Access Points can help distribute the load and prevent network congestion.
How to Perform AP.Setup
Performing AP.Setup typically involves the following steps:
- Selecting an Access Point: Choose a suitable Access Point device. Ensure it is compatible with your existing router and network settings.
- Physical Installation: Physically connect the Access Point to your router using an Ethernet cable. It should be strategically placed in an area that requires Wi-Fi coverage.
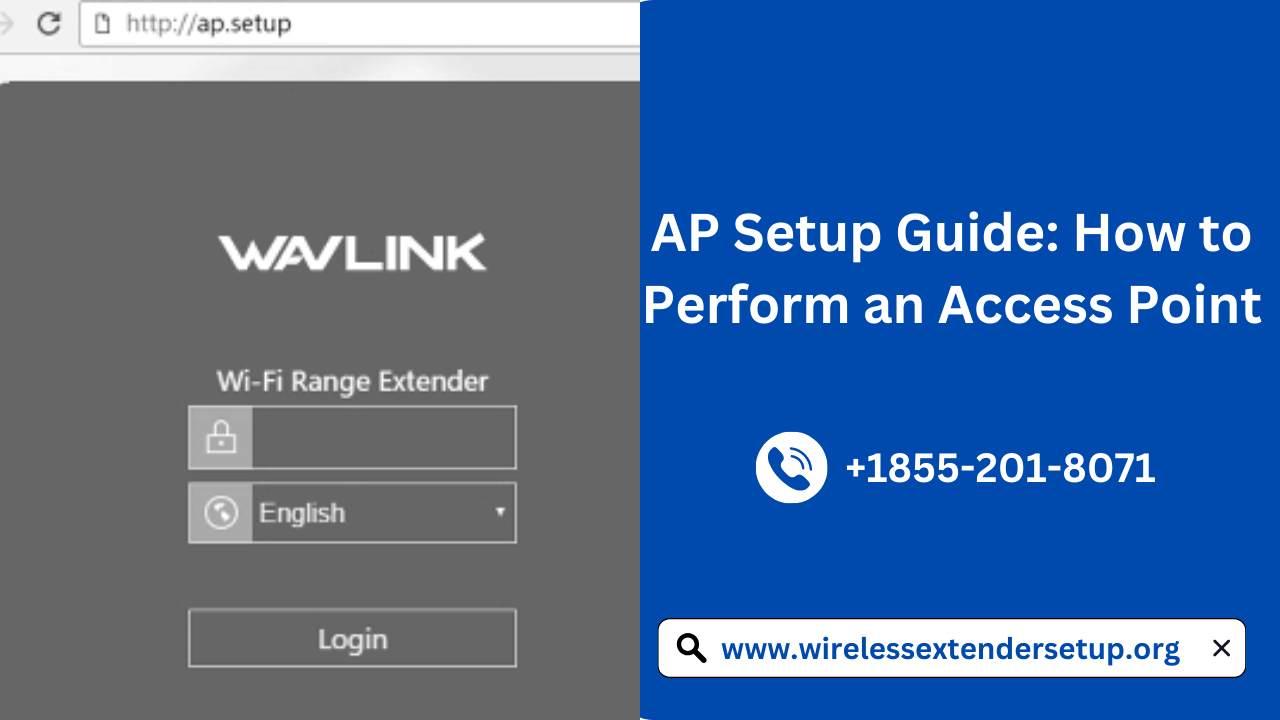
- Accessing the AP.Setup Interface: You’ll need to access the Access Point’s setup interface, which can be done by entering its IP address in a web browser. The IP address is usually provided in the device’s manual.
- Configuring the Access Point: Follow the on-screen instructions to configure the Access Point. This includes setting up your network’s name (SSID), password, and security settings.
- Testing the New Wi-Fi Signal: Once configured, the Access Point will broadcast a new Wi-Fi network. Test it to ensure the signal covers the intended area and provides a strong and stable connection.
The Benefits of AP.Setup
- Extended Coverage: AP.Setup extends your Wi-Fi network’s coverage, eliminating dead zones and providing a strong signal throughout your space.
- Improved Performance: By distributing network load and reducing congestion, Access Points can significantly improve network performance, especially in areas with multiple connected devices.
- Seamless Roaming: With multiple Access Points in place, your devices can seamlessly switch between them as you move throughout your space, ensuring uninterrupted connectivity.
- Customization: You have control over the network name, security settings, and other configurations, allowing you to tailor your network to your needs.
- Reliability: AP.Setup offers a reliable solution for Wi-Fi extension, ensuring a consistent and dependable connection for all your devices.
In conclusion,
AP.Setup is the gateway to extending your Wi-Fi network’s reach and optimizing its performance. By adding Access Points strategically, you can eliminate dead zones, improve network performance, and ensure seamless connectivity for all your devices. So, if you’ve been struggling with Wi-Fi dead zones or network congestion, consider AP.Setup as your solution to a better and more reliable Wi-Fi experience.
Source Link: https://www.wirelessextendersetup.org/ap-setup/
Comments